


How to Create a Custom Field: New UI and Live Preview
Custom fields help us gather specific customer information that goes beyond standard data points. When your CRM needs more detail, the right custom field keeps your data consistent and makes it easier to find what you need later.
Recently, Pinnacle improved how custom fields are organized, created, and managed. The goal is simple: reduce friction, make fields easier to navigate, and give us more confidence before we save changes.
What changed in the custom fields experience
These updates focus on usability and clarity. Instead of forcing us to hunt for what we need, the interface helps us identify the right fields faster.
1) Cleaner interface with visual indicators
The updated UI includes clearer visual indicators so we can spot which custom fields are unique and searchable. That matters because it directly affects how quickly we can navigate and how easily users can find the data they need.
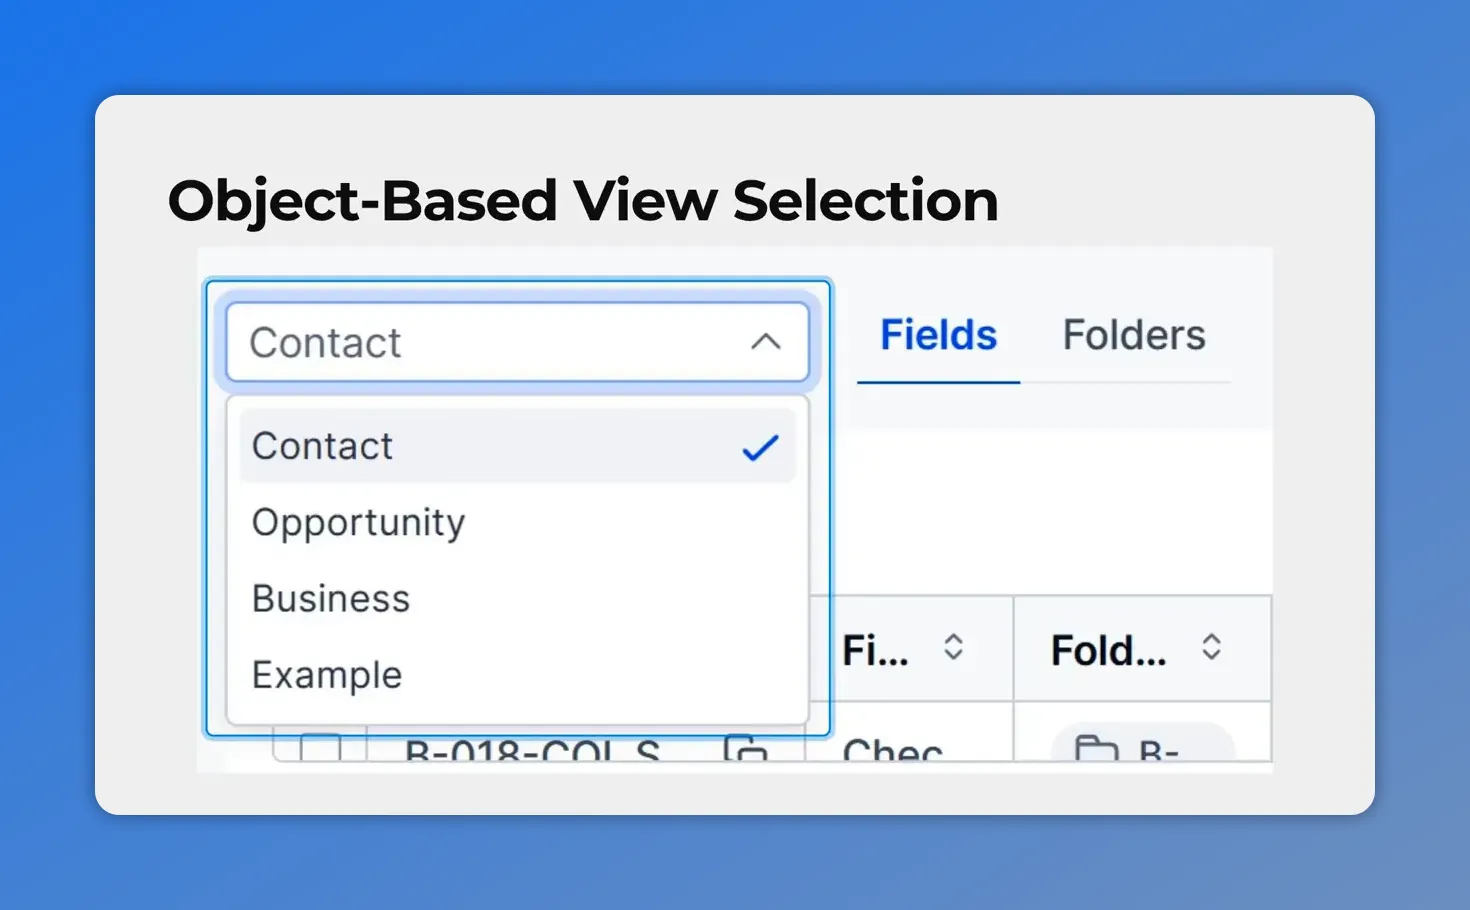
2) Object-based view selection
Switching between object contexts is now easier. Using the top dropdown, we can move between different views such as Contacts and Opportunities. This helps when we are configuring fields that apply to different parts of the CRM.

3) Live preview of how the field appears
Before saving, we can instantly see how a custom field will appear on the contact page. That live preview reduces mistakes and helps teams configure fields with more confidence.
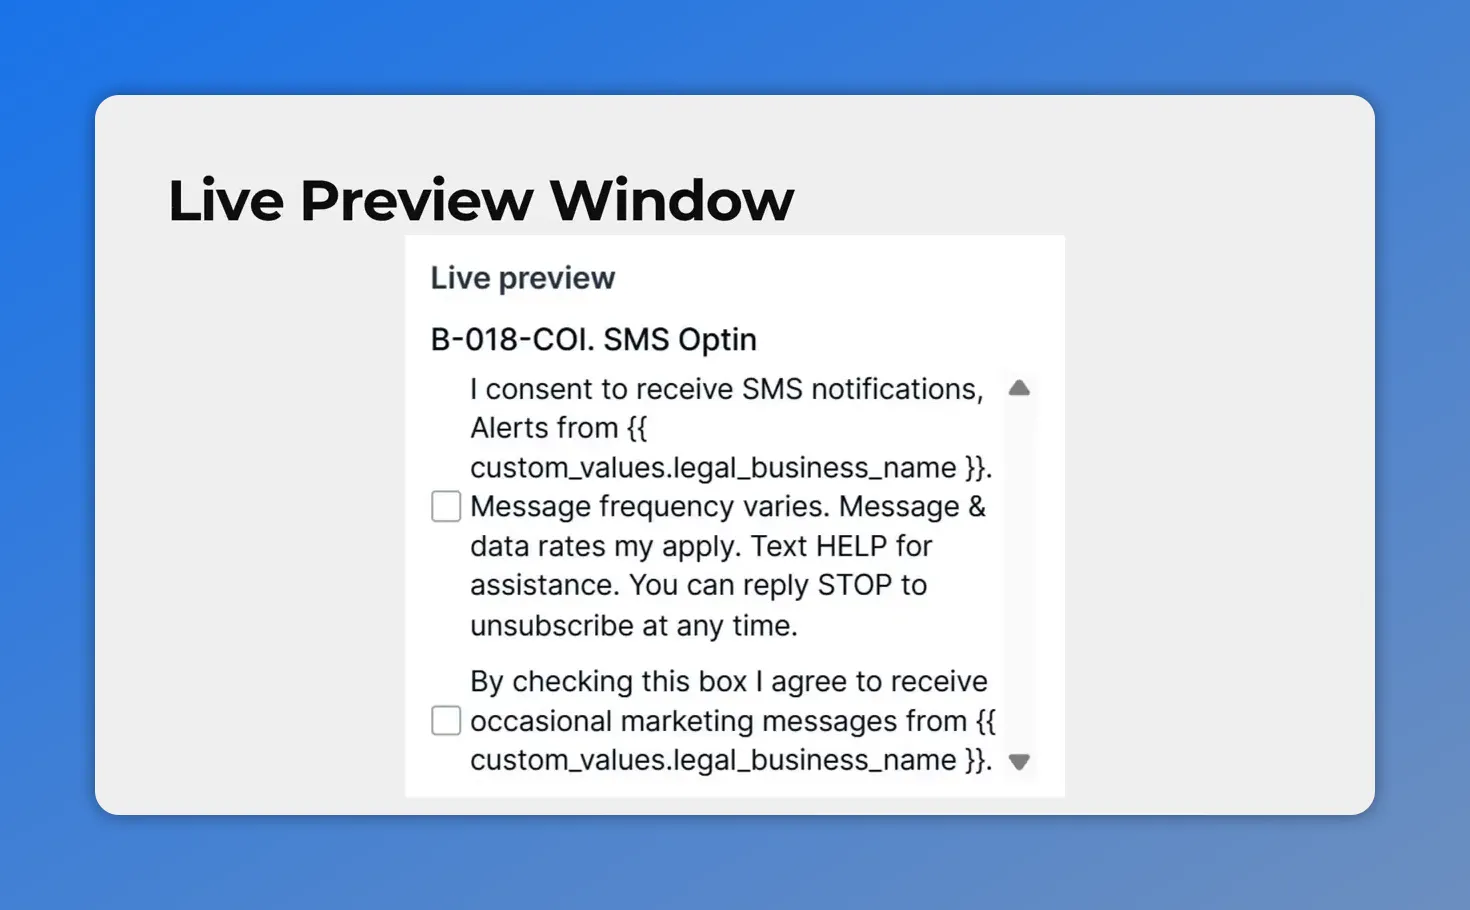
This live preview shows exactly how the custom field will look—so you can review the content before saving.
How to create a custom field (step by step)
Here is the process we follow to add a new custom field in Pinnacle, using the improved workflow.
-
In Custom Fields settings, select the Create Field button.
-
Select the type of field this custom field should be.
-
Enter the name, folder, and the associated object fields. Add any other desired details in the same screen.
-
Confirm by selecting Create custom field.
We like this flow because it keeps the setup focused. We choose the field type, define what it should apply to, and then confirm the change.
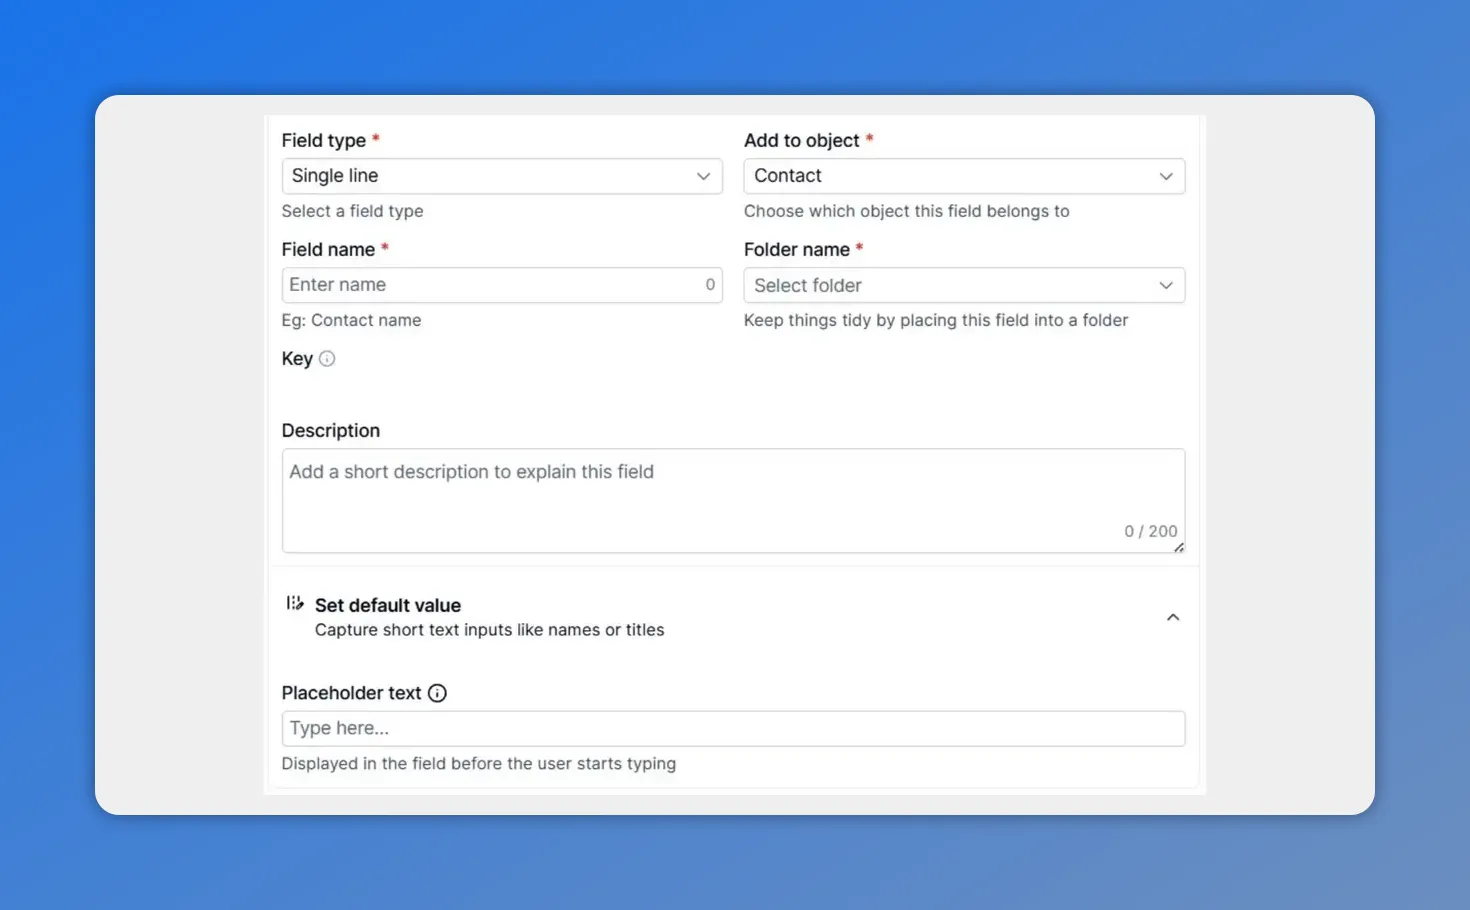
In the custom field setup, you define key details like the field type, field name, object (Contact), and folder, plus description and placeholder settings.
Why these improvements matter for teams
Custom fields often become mission-critical as soon as more teams rely on the data. These updates help keep that process smooth and scalable.
-
Reduced friction: we spend less time searching and less time double-checking settings.
-
Improved clarity: visual indicators make it easier to understand which fields are unique and searchable.
-
Fewer errors: the live preview shows exactly how the field appears on the contact page before we save.
-
Better data management at scale: custom fields stay organized, search remains usable, and information stays clear for everyone who uses the CRM.
Where these updates help most
These changes are especially helpful for admins, RevOps teams, and CRM managers working with Contacts and Opportunities. When your work spans multiple objects and many fields, the new structure makes configuration feel more predictable.
Next step
If you are ready to add your next piece of customer data, open Custom Fields settings and create a new custom field using the improved UI and live preview.
FAQ
What are custom fields used for in Pinnacle?
Custom fields are used to gather specific customer information that goes beyond standard data points, so teams can store more detail and keep records organized.
How do the new visual indicators help?
They help us quickly identify which custom fields are unique and searchable, improving navigation and usability.
Can we switch between Contacts and Opportunities while creating fields?
Yes. We can use the top dropdown to switch between object views such as Contacts or Opportunities.
What does the live preview do?
It shows how the custom field will appear on the contact page, so we can configure fields with more confidence before saving.
What are the basic steps to create a custom field?
We select Create Field in Custom Fields settings, choose the field type, enter the name, folder, associated object fields, and other details, then confirm with Create custom field.
This article was created from the video How to Create a Custom Field: New UI and Live Preview