


Drag-and-drop workflow builder: faster builds, fewer errors

Building workflows that make sense to your team is a priority for us. To help, we added drag-and-drop functionality to the workflow builder so elements land exactly where they belong. This reduces clicking, prevents placement errors, and helps teams build automations faster.
What drag-and-drop lets you do
- Add actions and triggers directly from the + Add menu.
- Drop actions into any spot marked with a plus sign.
- Place triggers next to existing triggers to expand logic.
- See valid placements with hover highlights and placeholders.
- Configure and save each element so it appears on the canvas.
Quick visual guide
Click the plus add button to start. Then choose whether you want to add an action or a trigger.
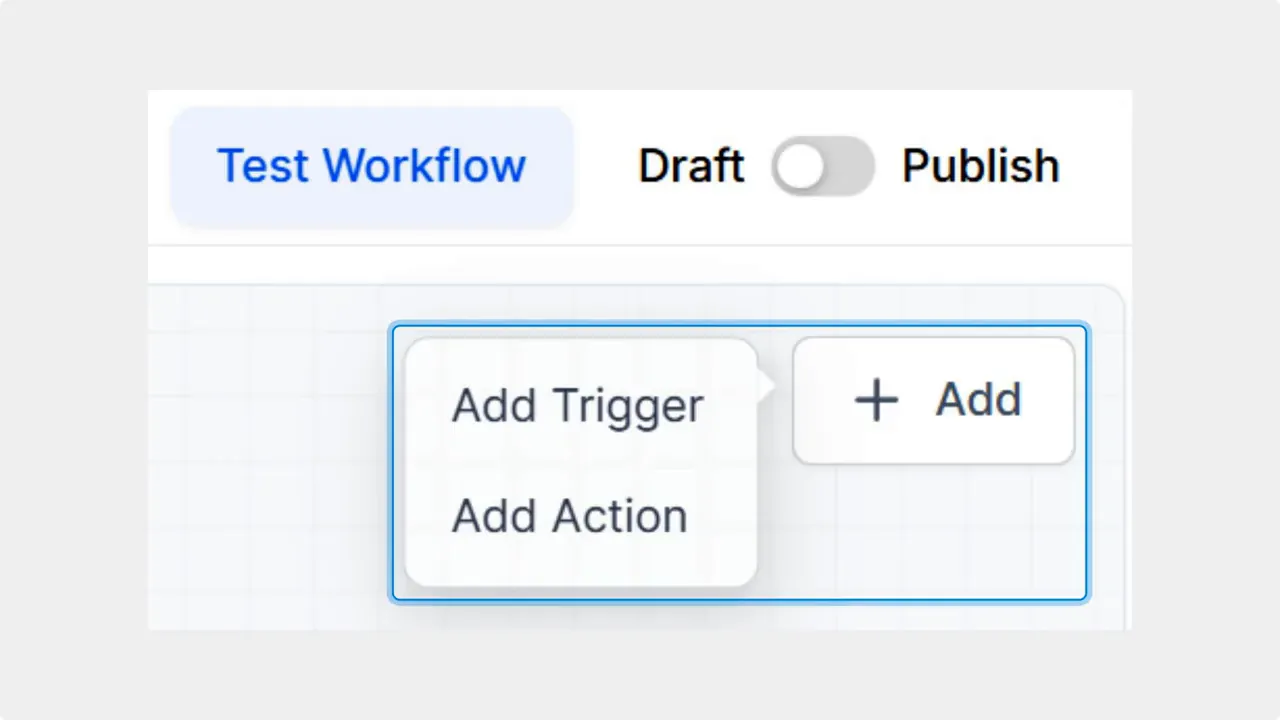
Open the + Add menu and choose Add Trigger or Add Action.
Drag actions into any space marked with a plus sign. The builder will highlight valid spots as you hover, so you always know where the action will land.
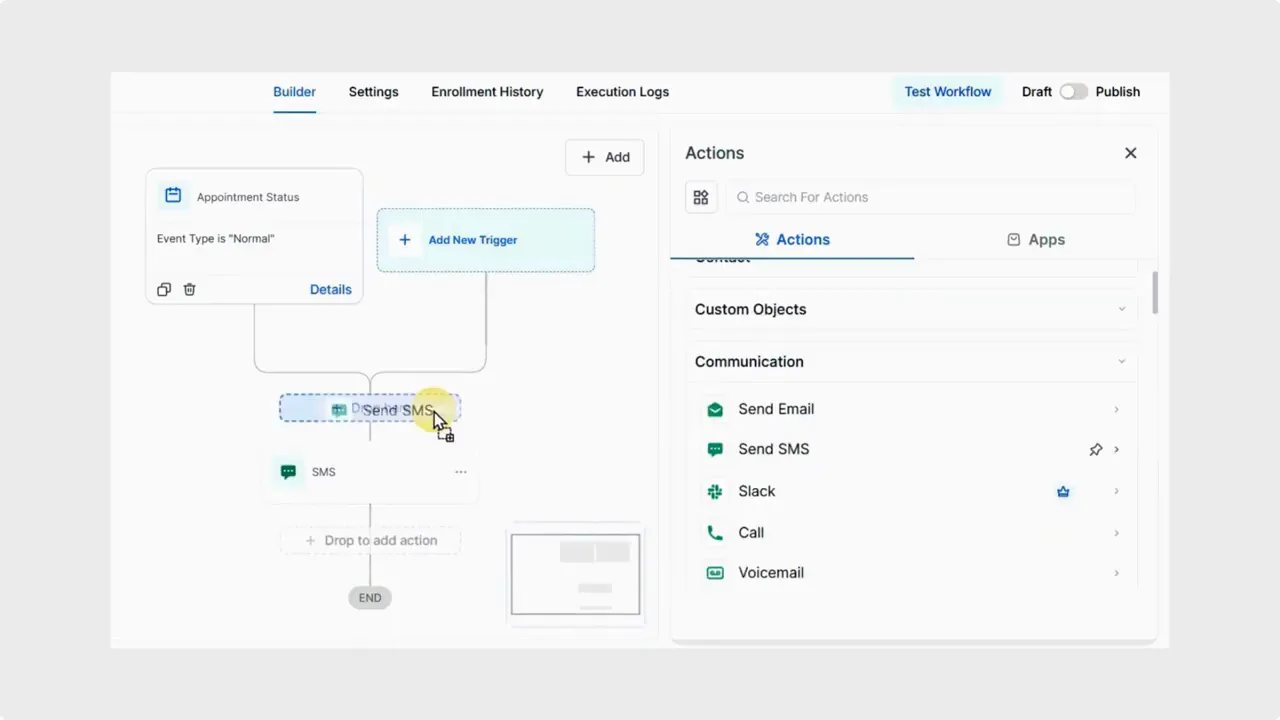
Drag an action — the builder highlights valid drop targets as you hover.
Triggers behave a little differently. Drop triggers in place next to existing triggers to expand your branching logic or add parallel checks.
Drop triggers side-by-side to expand branching logic.
Highlighted placeholders give extra guidance. They show where items will land and help avoid mistakes while keeping flexible placement.

Highlighted placeholders guide where to drop actions and triggers.
After placing an element, configure it and click Save. If you exit before saving, the element will not be added to the canvas.
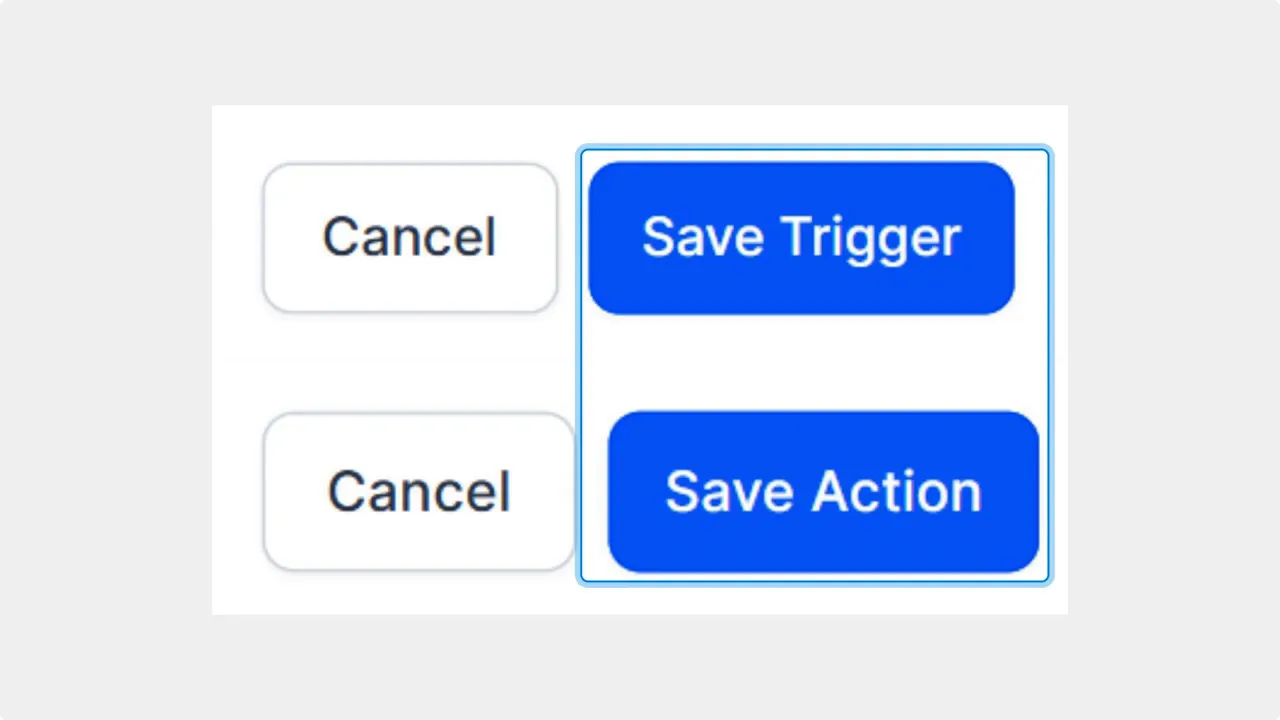
Click Save (Save Trigger / Save Action) after configuring to add the element to the canvas.
Step-by-step: build a new workflow element
- Open the workflow builder for the automation you want to edit.
- Click the + Add button to reveal actions and triggers.
- Select an action or a trigger from the list.
- Drag an action into any plus-marked space. Drag a trigger next to existing triggers.
- Configure the settings for the selected element.
- Click Save to add the element to the canvas. If you leave without saving, the element will not be added.
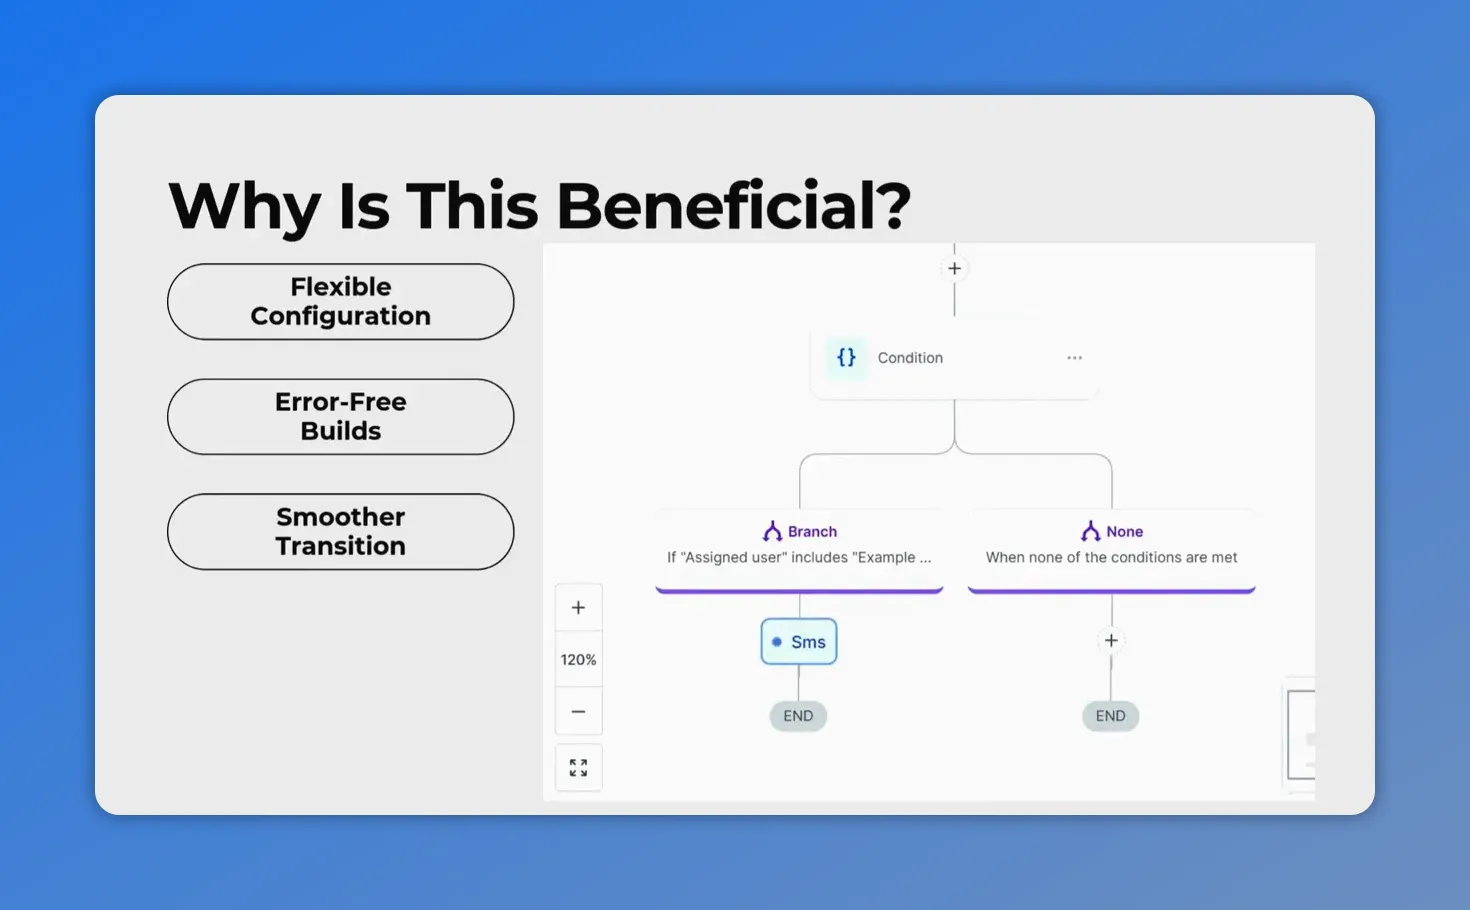
Why this matters
- Flexible configuration: Build complex automations without a strict linear path.
- Error prevention: Visual placeholders show exactly where items will land.
- Smoother transition: Get advanced-builder freedom with added guidance.
- Faster builds: Fewer clicks keep you in flow and help you ship confidently.
Best practices for faster, cleaner workflows
- Plan placement before you start. Group related actions together.
- Watch the hover highlight to confirm the right spot before releasing.
- Name triggers and actions clearly so team members understand flow at a glance.
- Save frequently after adding groups of elements to avoid losing work.
- Test workflows after saving to validate trigger and action behavior.
FAQ
How do we add an action?
Click the + Add button, choose an action, then drag it into any space marked with a plus sign. Configure the action and click Save to add it to the canvas.
Where can triggers be placed?
Drop triggers in place next to existing triggers to expand branching or parallel logic. The builder shows valid placement as you hover.
What happens if we exit without saving?
If you leave the builder before clicking Save, the element will not be added to the canvas. Save after configuration to keep changes.
Can we still use the advanced builder?
Yes. Drag-and-drop gives the freedom of the advanced builder while offering extra guidance through highlighted placeholders. It’s a middle ground for teams that want flexibility plus fewer mistakes.
Does drag-and-drop change how workflows run?
No. Placement tools only change how you build and organize elements. The logic that runs remains based on the triggers and actions you configure.
Ready to build
Try drag-and-drop in the workflow builder today. It reduces friction, speeds up assembly, and helps teams build with confidence. Tell us in the comments which automation you’ll create next.
This article was created from the video Drag-and-drop workflow builder: faster builds, fewer errors