


Bulk Import Custom Objects with CSV: Create and Update in Minutes
Managing many custom object records by hand is slow and error prone. We built a simple CSV import flow that uses the same familiar create and update steps you already use for contacts and opportunities. This saves time, reduces mistakes, and makes large data loads easy to handle.
Why bulk importing custom objects matters
Bulk import moves data quickly and consistently. Instead of editing records one by one, we can:
- Create many records at once from a single CSV file.
- Update existing records without manual edits.
- Control overwrite behavior so blank CSV cells do not unintentionally erase data.
- Track results with clear success and error stats in Bulk Actions.
Step-by-step: Create or update custom objects with a CSV
Here is the straightforward flow we use to import custom object records:
1. Open Custom Objects and start an import
Go to your account's Custom Objects section and choose Import. This launches the same import wizard used elsewhere in the platform.
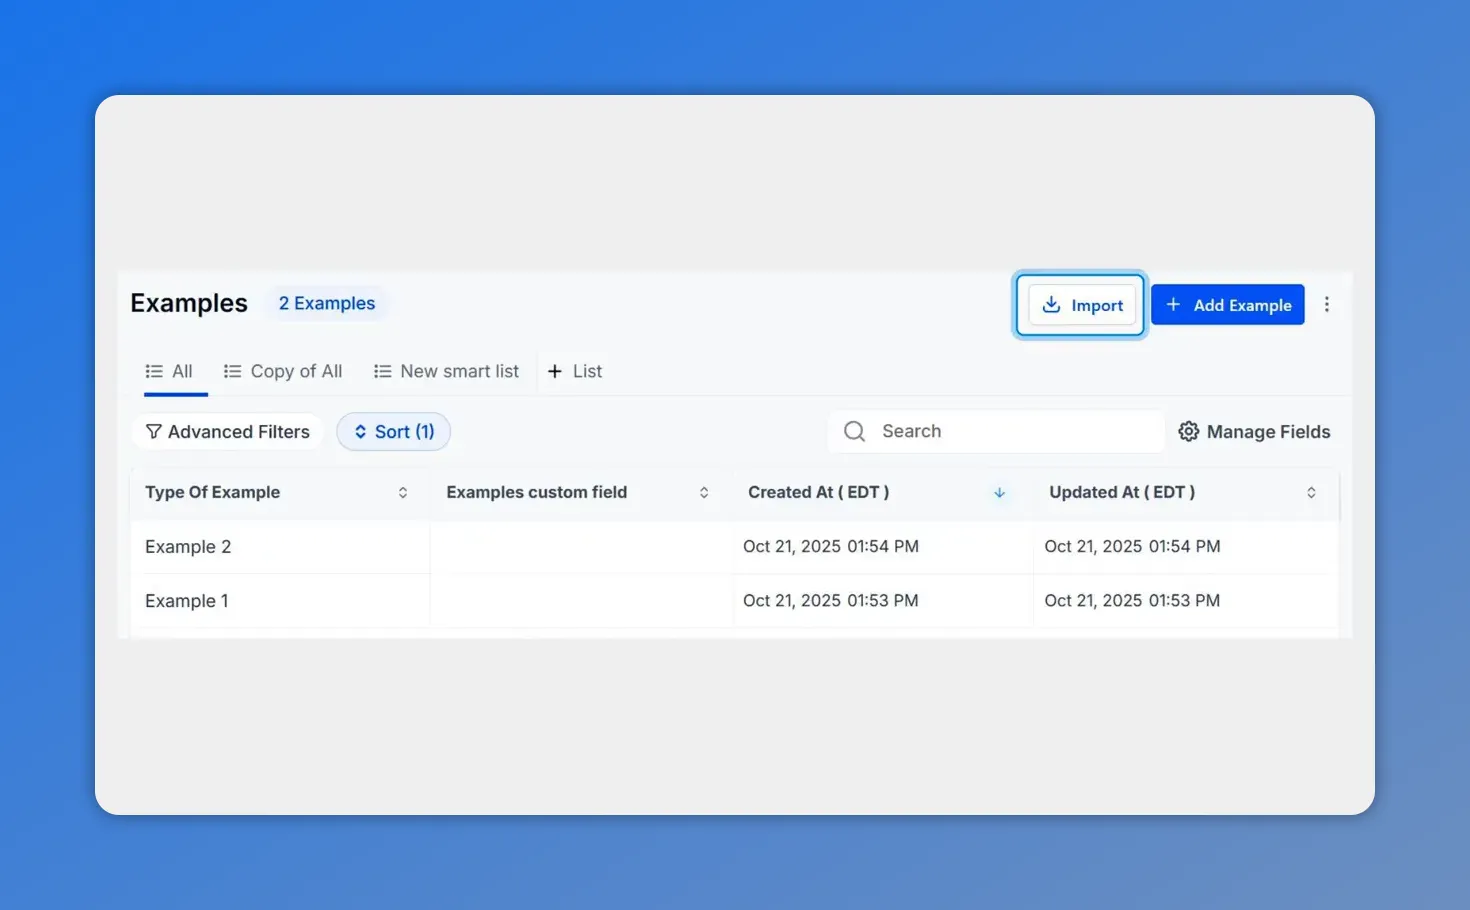
Open the custom objects list and click Import to start the flow.
2. Add your CSV file
Click Next and upload the CSV that contains the records you want to create or update. Make sure column headers are clear and match the fields you plan to map.
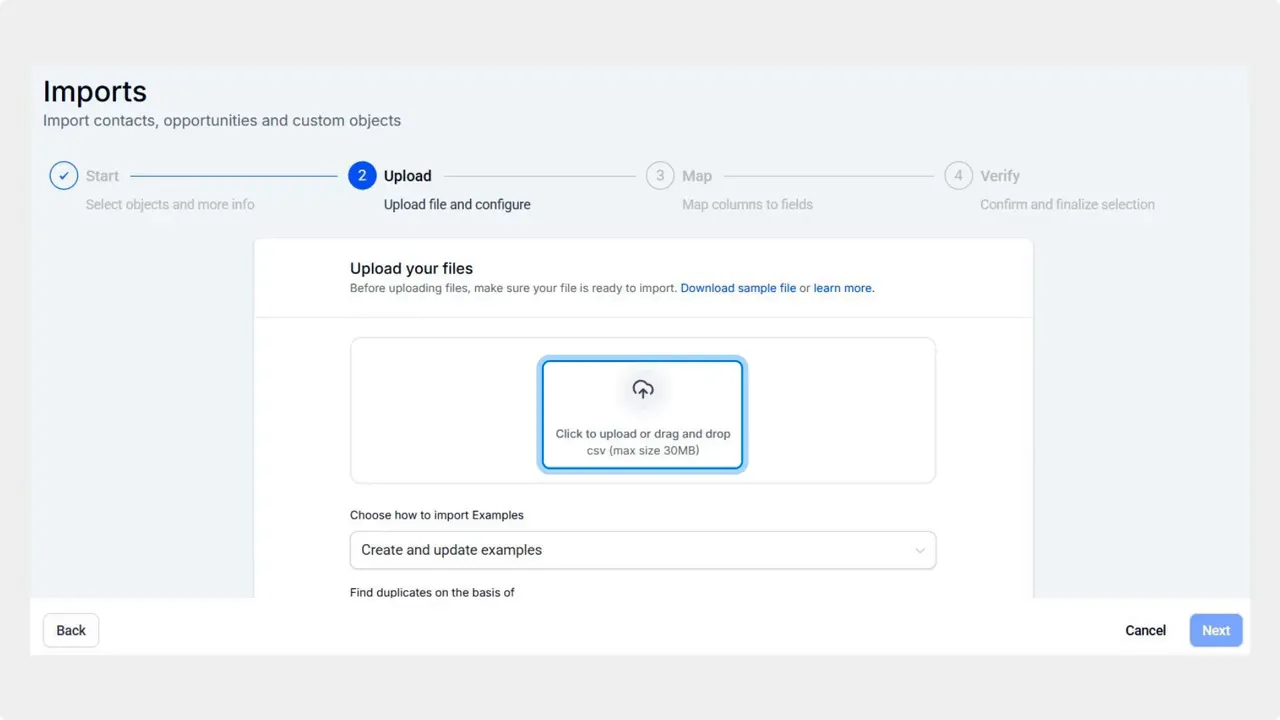
Upload your CSV by dragging it into the box or clicking to select the file.
3. Map CSV columns to object fields
Match each CSV column to the corresponding field in the custom object. If you are updating records, choose how the system should handle blank cells—whether they should overwrite existing values or be ignored.

Map each CSV column to a custom object field and avoid overwriting values with the “Don't update to an empty value” option.
4. Verify mapping and start the import
Review the mapping screen to confirm each column targets the right field. When everything looks correct, click Start Bulk Import. The process will create new records and update existing ones according to your mapping and overwrite settings.
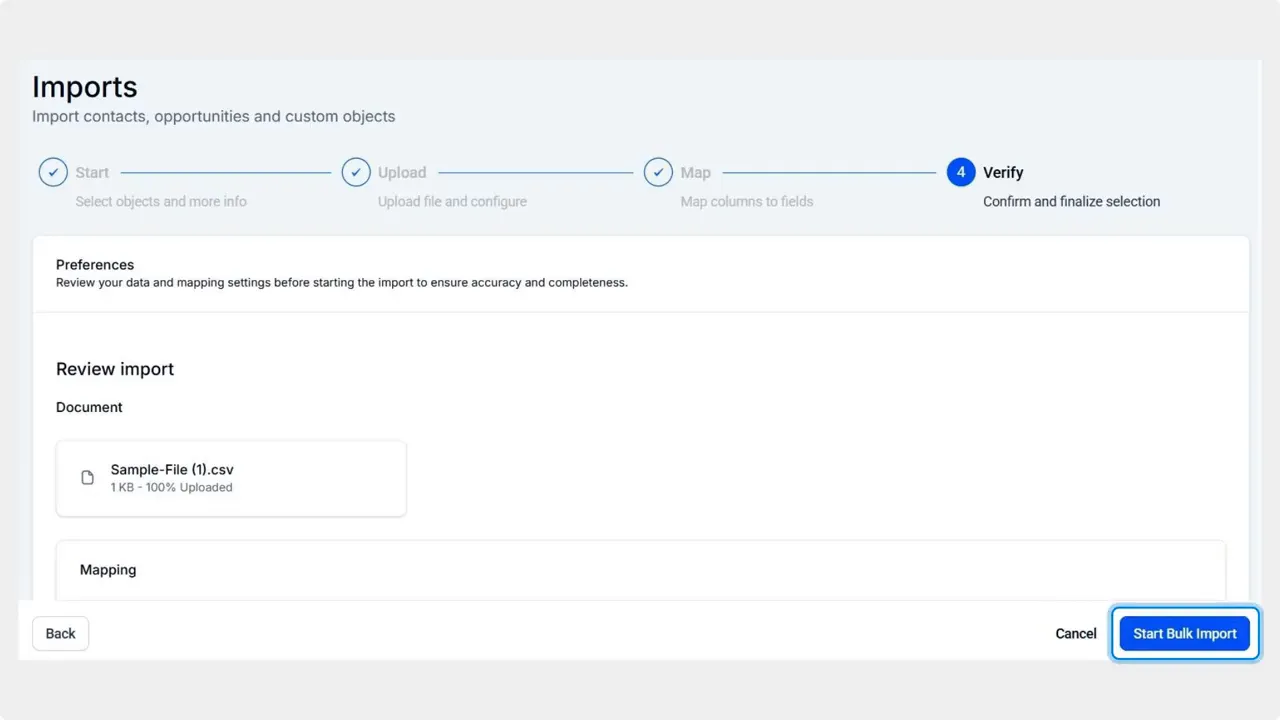
Verify your mapping and click Start Bulk Import to begin creating or updating records.
Duplicate handling and updates
Use your object's unique fields to manage duplicates. When the import runs, the system checks those unique fields to decide if a row should create a new record or update an existing one. This removes the need for manual duplicate checks and keeps data consistent across systems.
Track progress and results
After the import starts, monitor progress and outcomes in Bulk Actions. You will see counts for successful records and entries that failed. Errors usually point to field mismatches, validation rules, or data formatting issues.
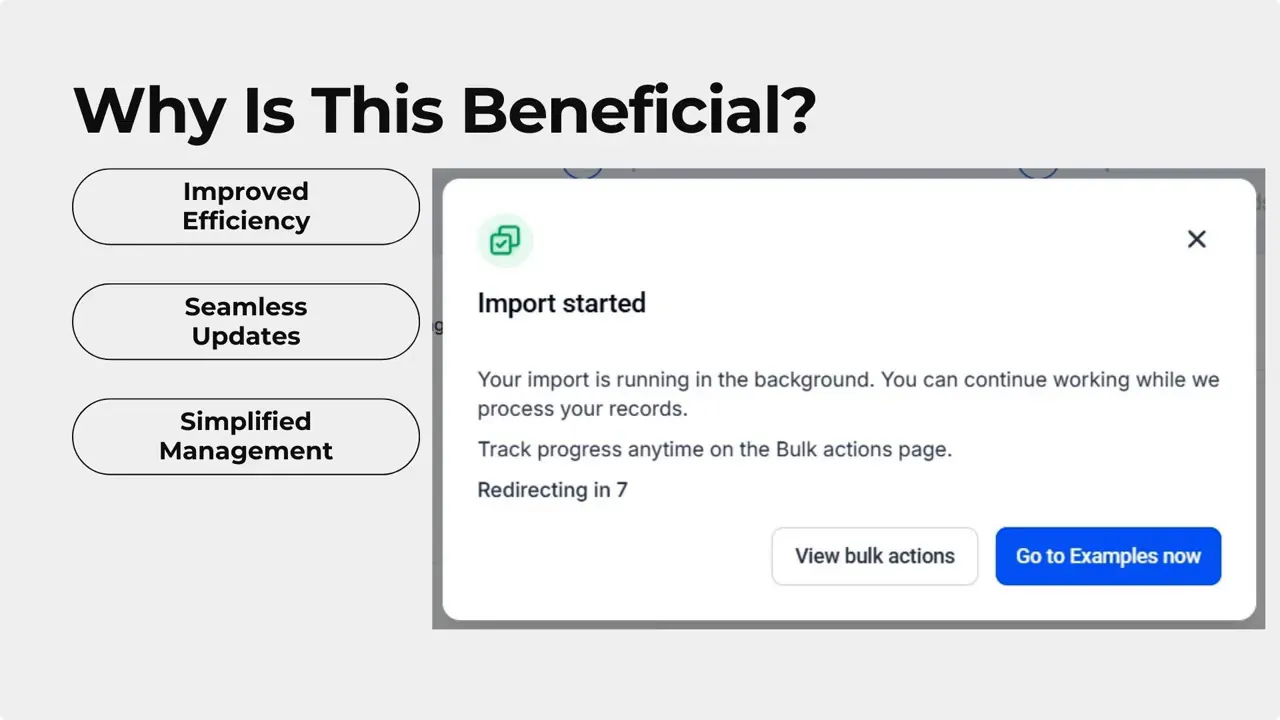
Confirmation modal showing the import has started with a direct link to Bulk Actions to track progress.
Best practices for clean imports
- Validate headers—use clear column names that match field labels where possible.
- Format data consistently for dates, numbers, and picklists.
- Test with a small file before importing thousands of rows.
- Decide overwrite rules up front so blank cells behave as intended.
- Use unique identifier fields to prevent duplicates and ensure correct updates.
Troubleshooting common issues
- Import fails for many rows: check required field rules and CSV formatting.
- Updates not applied: confirm the unique field used for matching is present and matches existing records exactly.
- Unexpected blanks: confirm the "blank cells overwrite" option setting before starting the import.
FAQ
How do we update existing records with a CSV?
Include the unique identifier field for your object in the CSV so the import can match rows to existing records. During the mapping step, map that column to the unique field and choose whether blank cells should overwrite current values.
Will blank cells overwrite existing values?
We provide an option during the update step to control this. Choose whether blank CSV cells should overwrite existing data or be ignored. This prevents accidental data loss.
How are duplicates handled?
Duplicates are managed using the object’s unique fields. The import checks those fields to decide if a row should update an existing record or create a new one. Configure unique fields appropriately to match your data rules.
Where can we see import results and errors?
Open Bulk Actions to view success and error counts. Error details point to the specific rows and fields that failed validation so you can fix and re-import them.
What is the recommended file size for reliable imports?
We recommend testing with a small sample first. For large loads, break files into manageable chunks if you see performance limits or long processing times. The import tool handles large files well when data is clean and formatted correctly.
Wrap-up
This CSV import flow makes custom object management faster and more reliable. By mapping fields, controlling overwrite behavior, and using unique identifiers for duplicates, we can create and update records at scale while keeping data accurate. Open Custom Objects, click Import, add your CSV, map fields, and start your first bulk import to try it out.
This article was created from the video Bulk Import Custom Objects with CSV: Create and Update in Minutes